Failed Auto Reverse on Garage door

At probably 90% of my inspections, I find and report a failed auto reverse feature on the home's garage doors.

What is auto reverse on a garage door?

A garage door auto reverse is pretty much what it sounds like. A system which forces the door to quickly reverse if it encounters an obstacle like your car, your cat, your dog, or your child. The Auto Reverse mechanism is a very important safety system, but mostly ignored.  Improperly operating automatic reversing mechanisms on garage door openers have caused many injuries and even deaths. The weight and pressure involved in closing a garage door can cause serious injury to someone in the path of the door, especially children.

There are two common safety features with a functional auto reverse system: (1) the opener motor and (2) infrared sensors

Important Safety Feature 1: Opener Motor

The first line of defense is the opener motor, which senses resistance and reverses direction if a certain level of resistance is achieved. If an excessive amount of pressure is required to cause the door opener to reverse, the reversing mechanism is considered “inoperative.”

Our inspectors use a 1 1/2″ block to test the auto-reverse – save your cat, test the door yourself!

Not every garage door opener has an automatic reversing mechanism. In 1982, ANSI created a voluntary industry standard (ANSI-UL 325-1982) which requires automatic reversing mechanisms on garage door openers sold in the US. Therefore, some pre-1982 garage door openers may have been manufactured with other safety features which may stop the door, but not cause it to reverse. Because most pre-1982 garage door openers do not comply with current safety standards, the Consumer Product Safety Commission (CPSC) recommends replacement with an opener that has an auto-reversing feature which meets current standards.

How to Test Your Automatic Reverse Mechanism

Our inspectors test the reversing mechanism with a 1 1/2″ block. We place the block on the floor under the door. If the door doesn’t reverse within two seconds after striking the block, the door requires too much force to reverse.

You can easily try this method to test your auto reverse. The CPSC recommends testing the garage door opener reversing mechanism every month. If the reversing mechanism fails, disconnect the door opener until the auto-reverse is repaired.

Green is good, red is not good.

Important Safety Feature 2: Infrared Sensors

The second line of defense is a set of infrared sensors which should be mounted 4″ to 6″ above the floor on each side of the garage door frame. If any object blocks the path of the infrared sensors, the garage door opener will not activate or will reverse if operating.

Garage doors may display a variety of symptoms if sensors need attention. In most cases, you can troubleshoot the system and correct the cause of problems. Before you begin, make sure the electrical cord from the opener is plugged in and the electrical circuit is active.

Fixing Auto Reverse

Very ugly safety issue – sensors installed to prevent their safety function.

Fixing an inoperative reversing mechanism varies greatly depending on the model and age of the door opener.

It may be as simple as a couple of twists with a screwdriver, or it may be serious enough to require replacement of the garage door opener. Check your owner’s manual to determine if there is information about adjusting the reversing mechanism.

If correcting the reversing mechanism is more complicated than a simple adjustment, this is not a case of DIY – contact a garage door service company to ensure your safety.

Schneider Electric™ Recalls 1.4 Million Electrical Panels Due to Thermal Burn and Fire Hazards

What has been recalled?

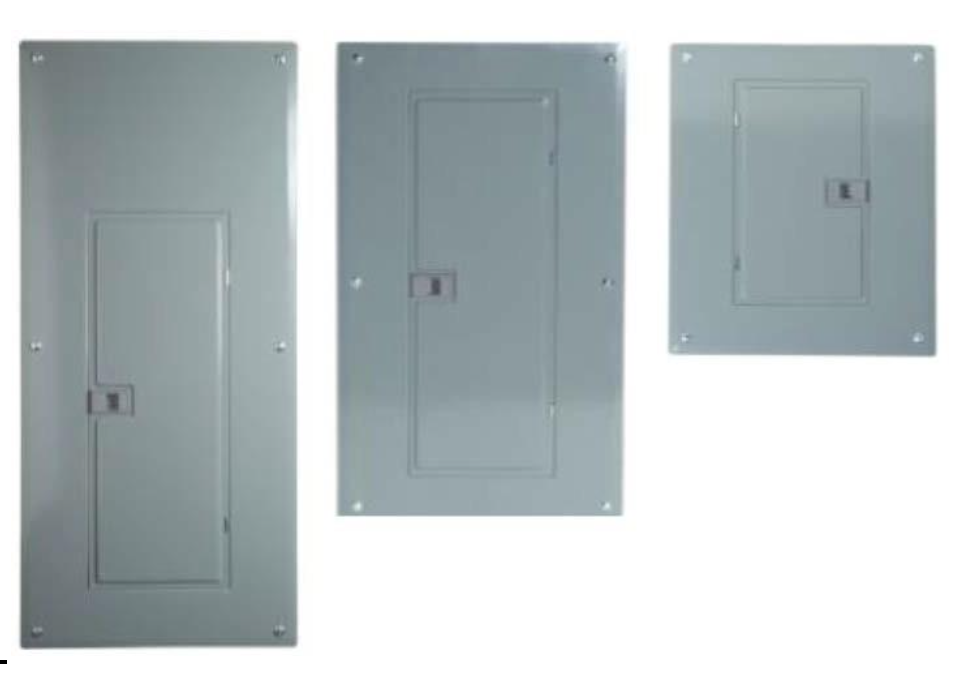
This recall involves indoor, outdoor and original equipment manufacturer (OEM) Square D QO Plug-On Neutral Load Centers that were installed in homes, recreational vehicles, or commercial establishments, including restaurants, manufacturing facilities and warehouses, commercial lighting and others.  The circuit breaker boxes were sold in gray and come in various sizes (square and rectangular). The recalled circuit breaker boxes were manufactured between February 2020 and January 2022, with date codes between 200561 and 220233. 

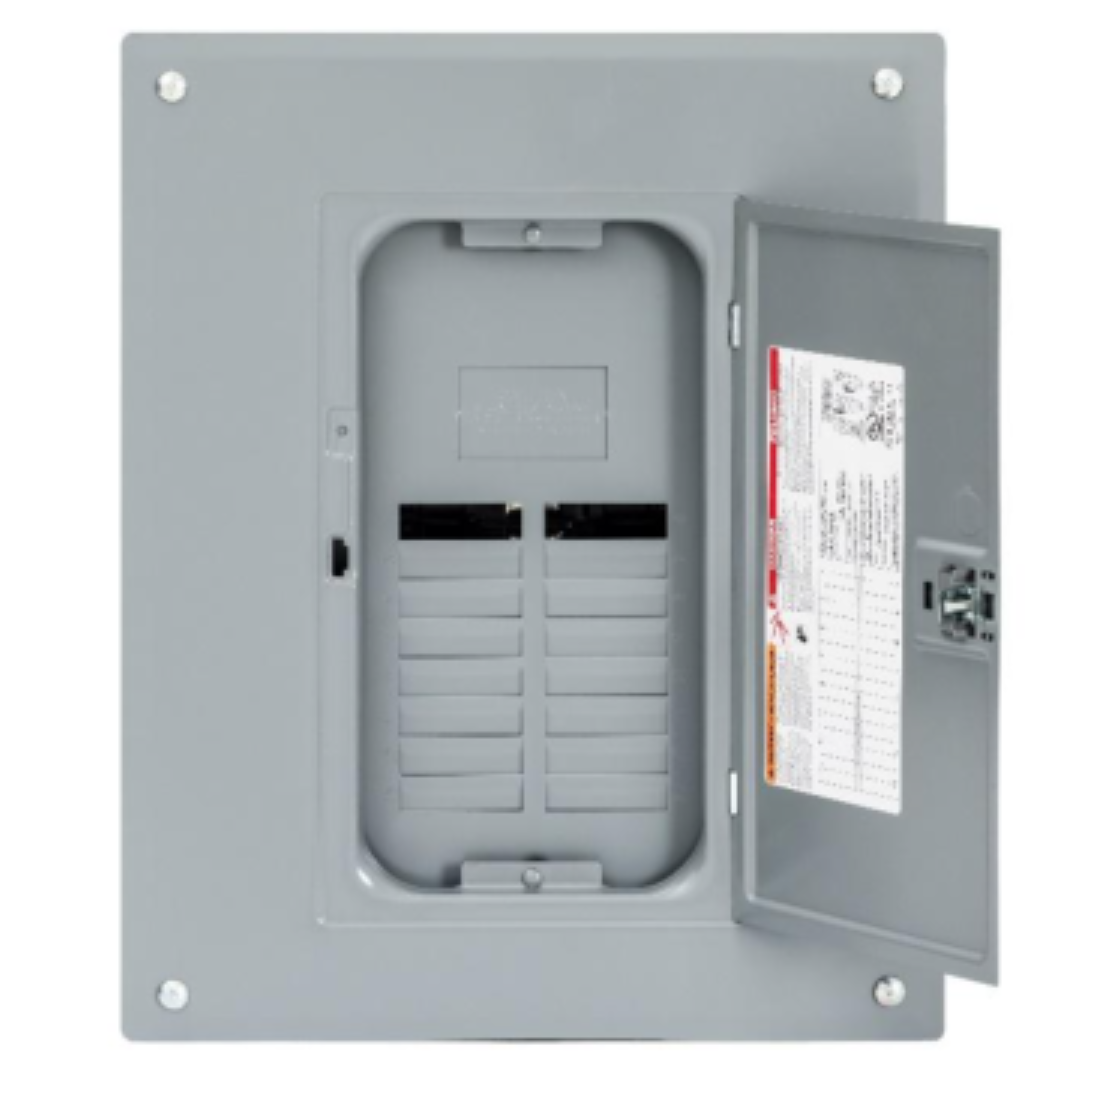
For installed outdoor load centers, the manufacturing date codes are printed on the inside of the cover or door of the unit or on the box itself when the cover or door is open.

For installed indoor load centers, a qualified electrician can locate the interior date codes that are not visible to the home owner. 

Circuit breaker boxes with covers that were manufactured between December 2019 and March 2022 are also included in this recall. The affected catalog/part numbers can be found inside the electrical panel doors for both the U.S. and Canada.

What do I do if I have this in my home?

Schneider Electric is directly contacting all known retailers, distributors, homeowners, and any other individuals that purchased or installed the recalled product. All purchasers and installers should immediately contact Schneider Electric to arrange to have the recalled load centers inspected by trained electricians to determine if replacement or repair is required. This inspection and any resulting replacement or repair are free of charge. 

Consumers can find the catalog number and date code on indoor load centers inside the door of the panel. Consumers should immediately contact Schneider Electric to arrange to have the recalled load center inspected by a trained electrician to determine if repair is required. This inspection and any resulting repair is free of charge. Consumers who continue to use the load centers while awaiting the free repair should have working smoke alarms in their homes.

For uninstalled products, consumers should contact Schneider Electric for a free repair or replacement. 

Schneider Electric Technical toll-free at 888-778-2733 from 8 a.m. through 8 p.m. ET Monday through Friday, online at www.se.com/us/qoloadcenter-safetyrecallnotice or at www.se.com/us/en/ and click on Recall Safety Notice for more information.

Roofing and Attic Ventilation

Although you probably don't give your roof ventilation much thought on a daily basis, it is crucial to many aspects of daily life in your home. The longevity of your roof system, your family's comfort and wellbeing, your potential future home repair costs, and how much you pay for heating and cooling can all benefit from having adequate attic ventilation.

Why Attic Ventilation is Important

To prevent extra heat and moisture from harming your property, make sure your attic has adequate ventilation. The heat from the sun hammering down on the roof can raise the temperature in the attic, which can warp the roof sheathing and cause the shingles to damage and age prematurely. It might be more difficult and costly to maintain a comfortable indoor climate in finished living areas if the attic floor is not evenly and sufficiently insulated. Warm air that has been heated in the living space below escapes into the attic in locations where winter temperatures drop below freezing, rising to the underside of the roof deck. The bottom layer of the snow accumulation on the rooftop starts to melt as the roof deck warms, which results in water trickling down the roof. Runoff turns back into ice once it reaches the frigid outer border. When this occurs regularly, an ice dam builds along the eaves, preventing additional runoff from escaping. When water is stuck somewhere, it may back up beneath the shingles.

How Attic Ventilation Works

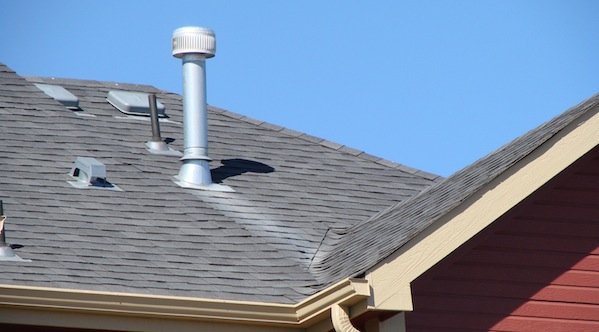
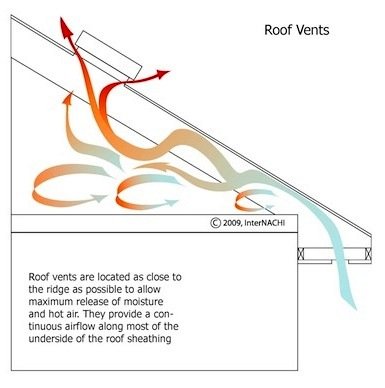
In an unfinished attic, intake vents along the soffits and exhaust vents at the peak or roof ridge are typically required for effective ventilation. This enables the air to circulate continuously through the area. Through the soffit vents, cooler outside air is brought in, while the vents along the roof ridge allow warm, humid air that has migrated to the roof's highest point to escape.

The last line of protection against ice damming is a properly fitted self-adhered underlayment. This waterproofing compound forms a tight seal around nails and is tear-resistant. It aids in preventing water overflow from entering exterior walls or the attic, where it may otherwise soak up the insulation beneath the floor, destroy the drywall, or infiltrate inner walls.

Identifying the Symptoms of Poor Ventilation

Multiple issues that present in various ways can be brought on by an insufficient attic ventilation system.

Here are some things to be on the lookout for, both subtle and not so subtle:

  • A sudden increase in your household's energy costs, which may occur if the attic insulation becomes moist and loses its efficiency.

  • HVAC repairs will be required more frequently since machinery that is working harder may be more prone to malfunctions or even early failure.

  • A discernible accumulation of ice along the edge of your roof throughout the winter

  • The roofline and shingles of your home have a waved or rippled appearance because the decking underneath has warped due to moisture damage.

  • Metal objects in the attic that have rust and corrosion, such as nail heads, electrical boxes, light fixtures, and HVAC system parts

  • Any signs of condensation, water damage, frost, or stains on the roof sheathing of your attic, as well as any signs of degeneration and decay of the roof's structural supports

  • An increase in your family's allergy or respiratory issues, which could be caused by the spores of mold growing in your attic spreading through the air you breathe indoors.

    Be sure to keep safety in mind if you decide to look for these indications in your attic or on your roof. Instead of ascending to the roof, walk around the outside of your house and use a pair of binoculars to look up from the ground level. Make sure the attic is well-lit, that you have a secure path to follow, and that you are wearing the right safety gear before you go up there.

How to Fix a Poorly Ventilated Attic

Building codes normally call for one square foot of net free-vent area (NFVA) per 300 square feet of space in an unfinished attic, so it's a good idea to get your attic checked by a licensed roofing contractor if you notice any of the above warning signals or have worries about them. If more is required, they can provide you advice on the best ways to increase ventilation and ensure its efficacy. To achieve this, they will consider a number of things, such as the weather where you live, the shape of your roof, how old your shingles are, the decking and other roof elements’ current condition, and ff your attic floor is properly sealed and insulated.

The following procedures to properly ventilate your attic may be advised if your roof is towards the end of its useful life, the decking is damaged, or other components are degraded: installing continuous soffit vents along the outer edge of the eaves, sealing the attic floor to make it airtight, and making sure there’s the recommended R-value of properly-installed insulation in place and without it blocking the soffit vents, allowing one to two inches of air space between the installed insulation and roof sheathing, adding a ridge vent, and insulating along the top plates to meet or exceed the R-value already in the walls.

Condensation on Double-Pane Windows

You’ve gotten your inspection report and your inspector has pointed out broken window panes or staining between the window panes. What does that mean exactly? Should I be concerned?

Let's first talk about the construction of your windows. Double-pane insulated glass (IG) windows are two hermetically sealed panes of glass that are separated by an aluminum or stainless steel spacer that contains silica beads. These silica beads act as desiccants and absorb moisture. Sealants like silicone or polyisobutylene are used to enclose the panes around this spacer. Some manufacturers combine the two sealants to form primary and secondary seals that help the sealed unit last longer.

When sunlight shines on a window, the air between the panes expands and the air pressure between them rises. As the window cools at night, the air pressure between the panes decreases. Pressure will build up on the seals if the air pressure between the panes is higher or lower than the ambient air pressure (air pressure outside the panes). Low pressure at night will attempt to draw air into this space while high pressure during the day will attempt to push air out from between the panes. Thermocycling or thermopumping are the terms used to describe this.

Seals must maintain any inert gas installed between the panes as well as withstand thermal cycling, UV radiation, moisture ingress, and thermal cycling. Seals will start to slowly leak and as the windows get older the leaks ultimately get bigger. A increasing amount of air will be drawn into the area between panes once leaks have formed. Once leaks have developed and grown, increasing amounts of air will be pulled into the space between panes. The silica desiccant beads will take in the moisture vapor that is carried by this air. This keeps the sides of the panes that are facing each other from condensing.

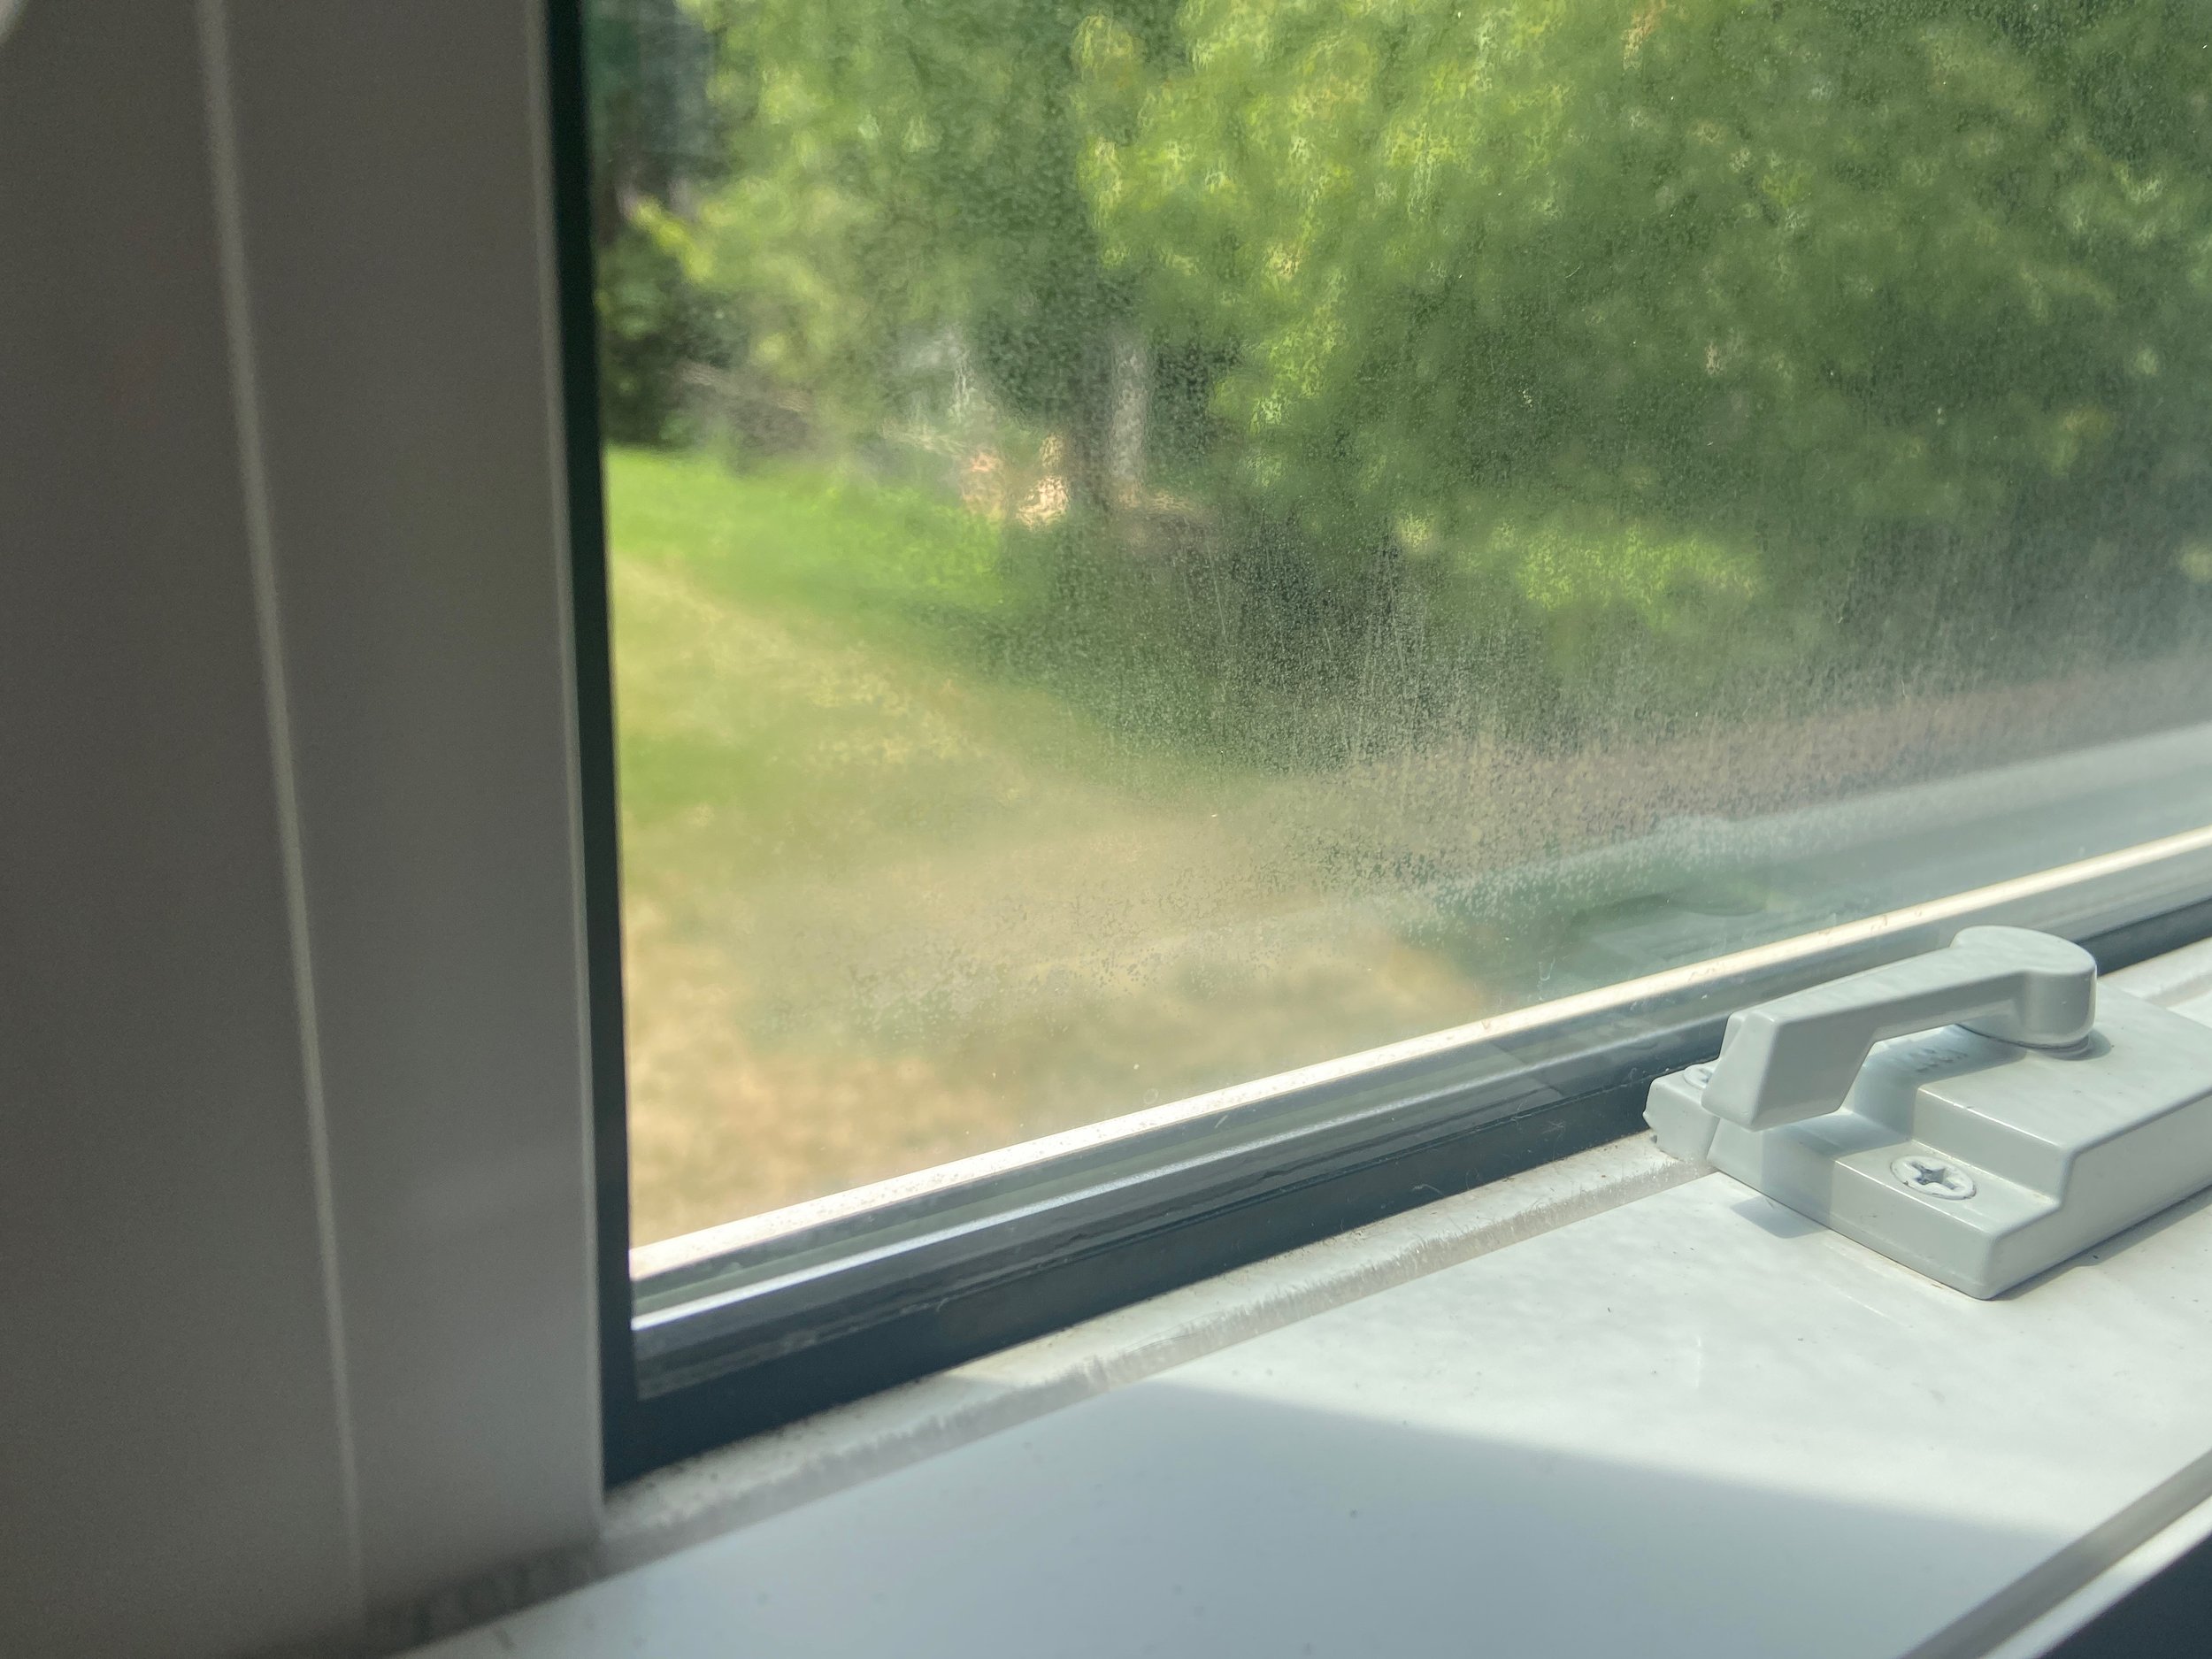
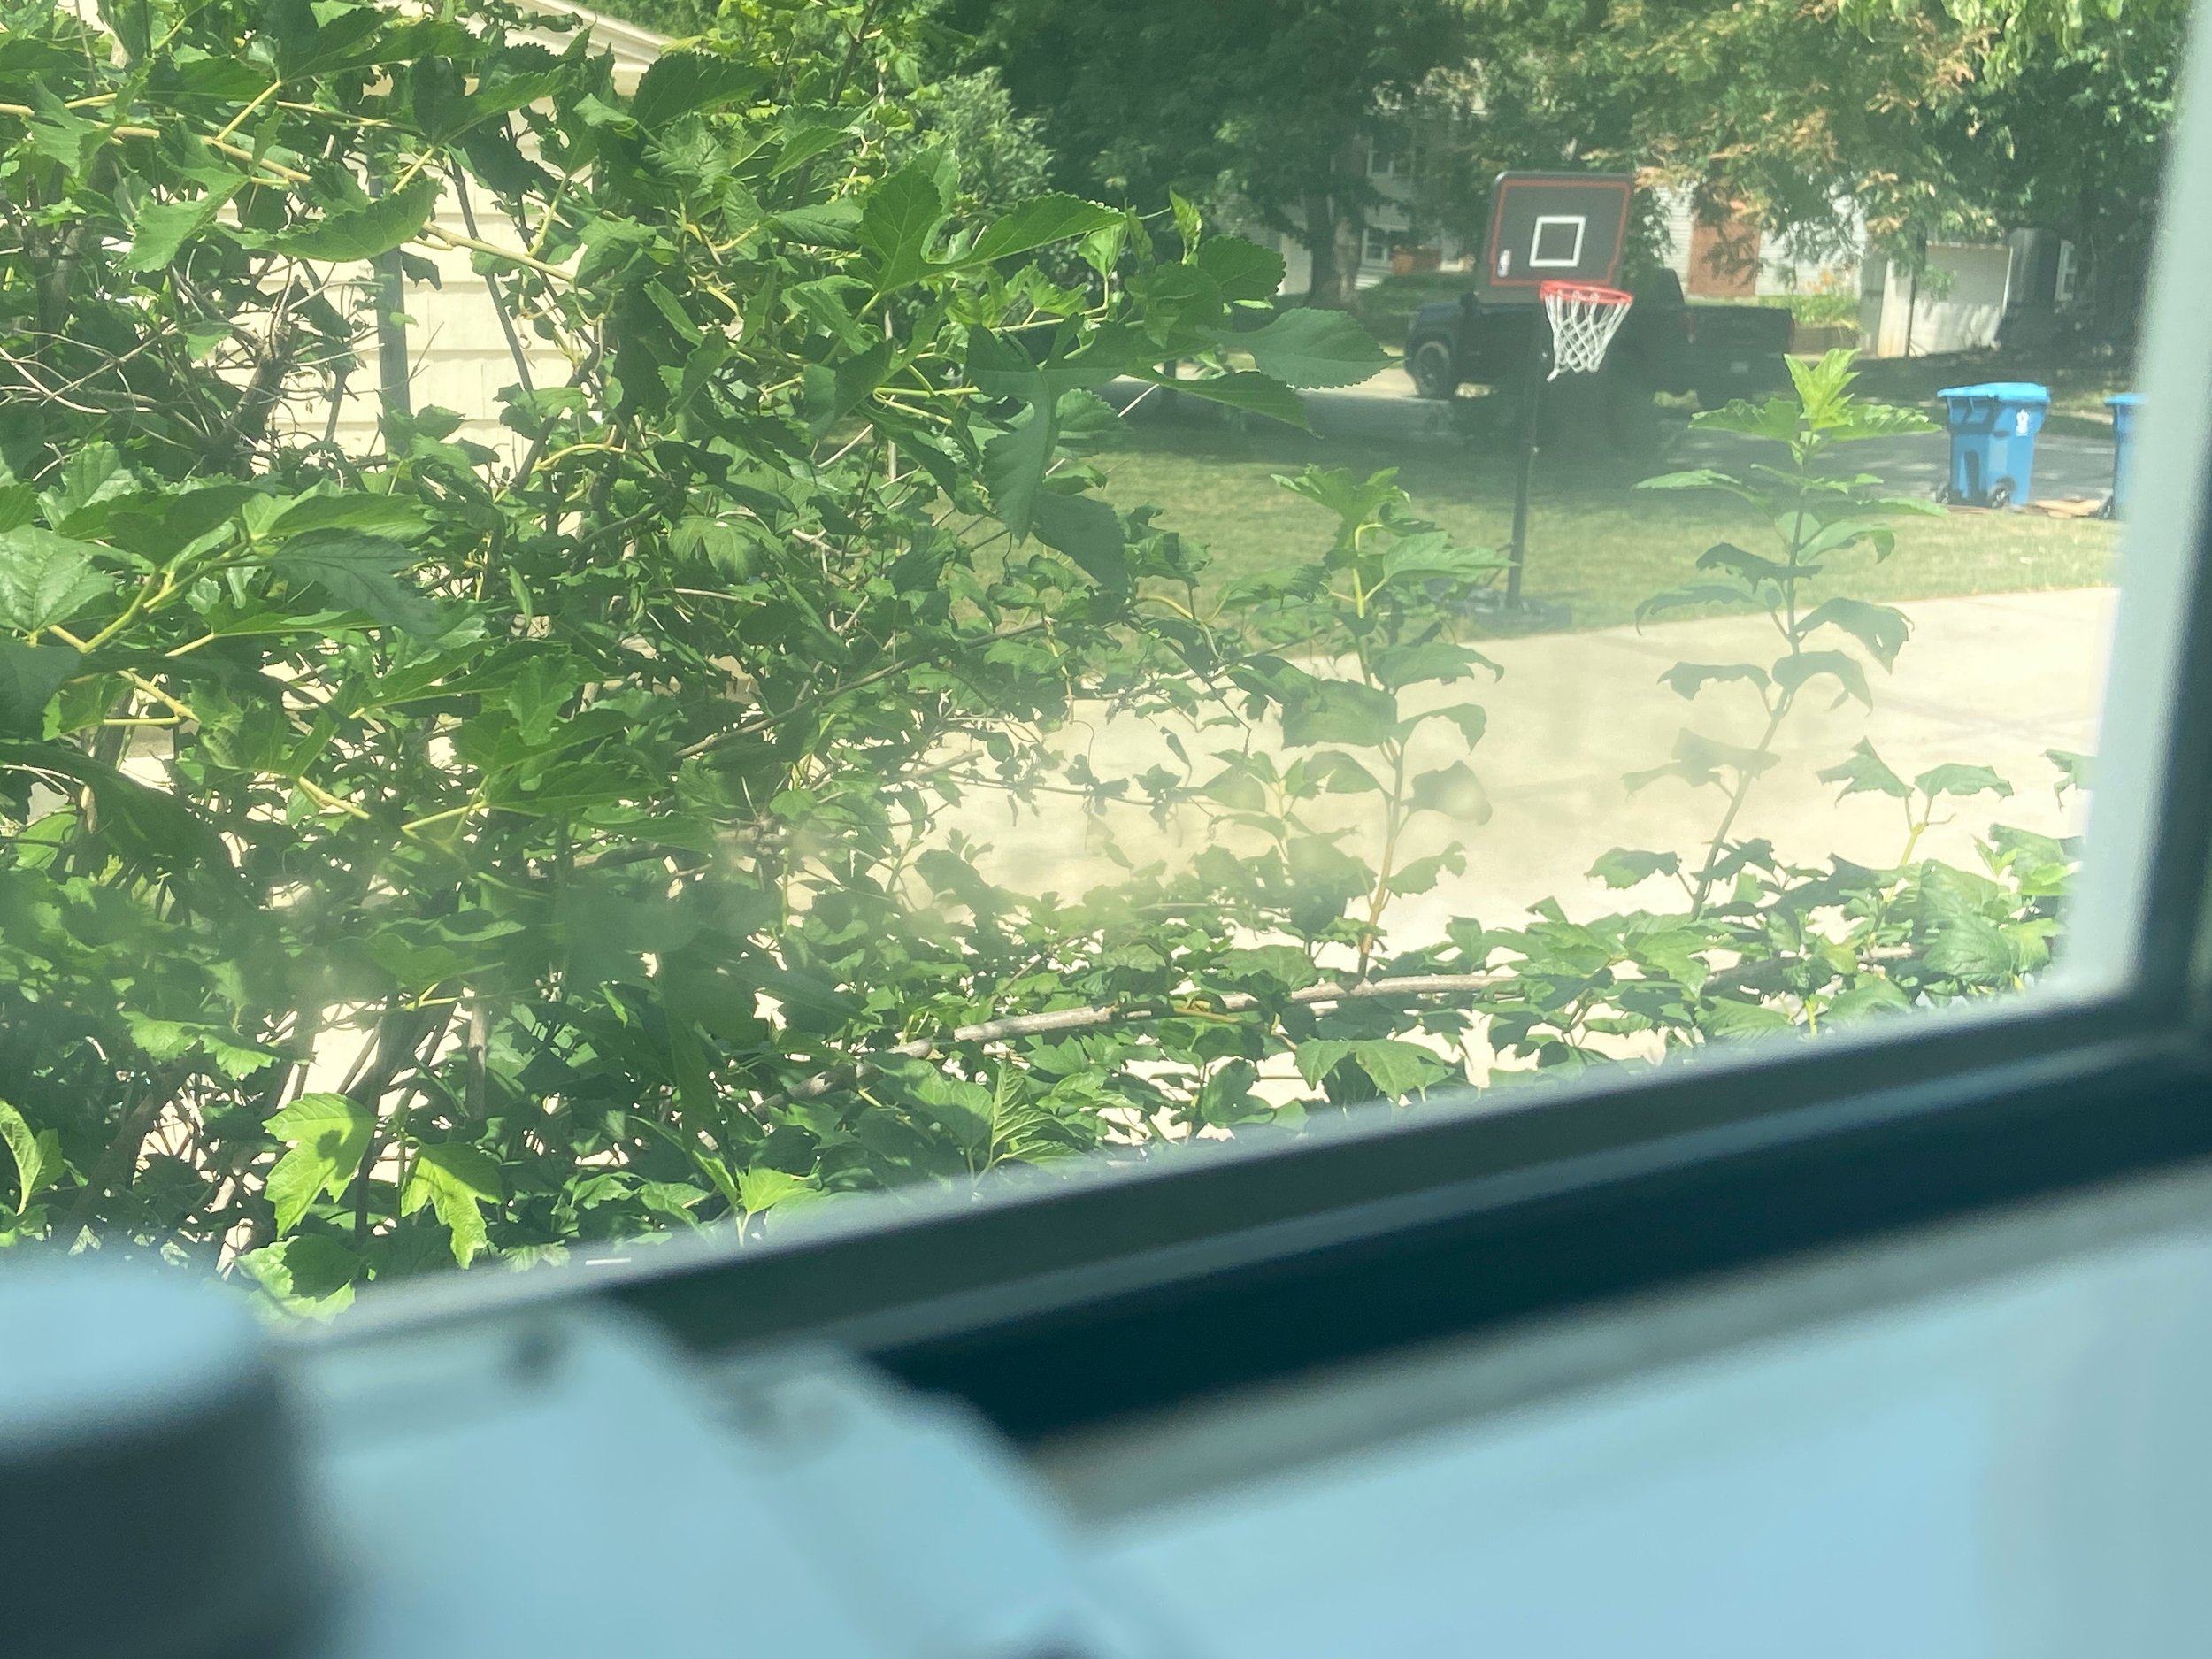
Over time, the silica beads will become saturated and will no longer be able to absorb moisture. When this happens, under direct sunlight, condensation will develop on the sides of the panes facing each other. Initially, this condensation will only be noticeable when the window is exposed to direct sunlight. Permanent stains will form on the glass as leaks worsen and moisture keeps getting in between the panes; these stains will be apparent even when the window is in the shade. The glass will eventually develop permanent etching over time.

How do I repair windows with failed seals?

While there are still companies that offer to repair failed seals by various means, I recommend a qualified contractor or window manufacturer to discuss options and costs for repair or replacement. With newer vinyl style windows, full replacement is more common.